Build Your First Compost Bin: A Step-by-Step Assembly Guide
Chosen theme: Step-by-Step Compost Bin Assembly. Dive into a friendly, practical walkthrough that helps you plan, assemble, and start a compost bin that actually works—so your kitchen scraps become garden gold. Subscribe for ongoing tips and seasonal tweaks!
Decide between a wood-slat cube, welded-wire cylinder, or upcycled pallet frame, using materials you can source locally and responsibly. Consider your climate, space, and pest pressure, then tell us which style you picked and why.
Gather a drill, saw, measuring tape, corrosion-resistant screws or zip ties, clamps, gloves, and eye protection. Pre-drill to prevent splitting. I once nicked a finger rushing—lesson learned. Share your safety tips so others avoid those oops moments.
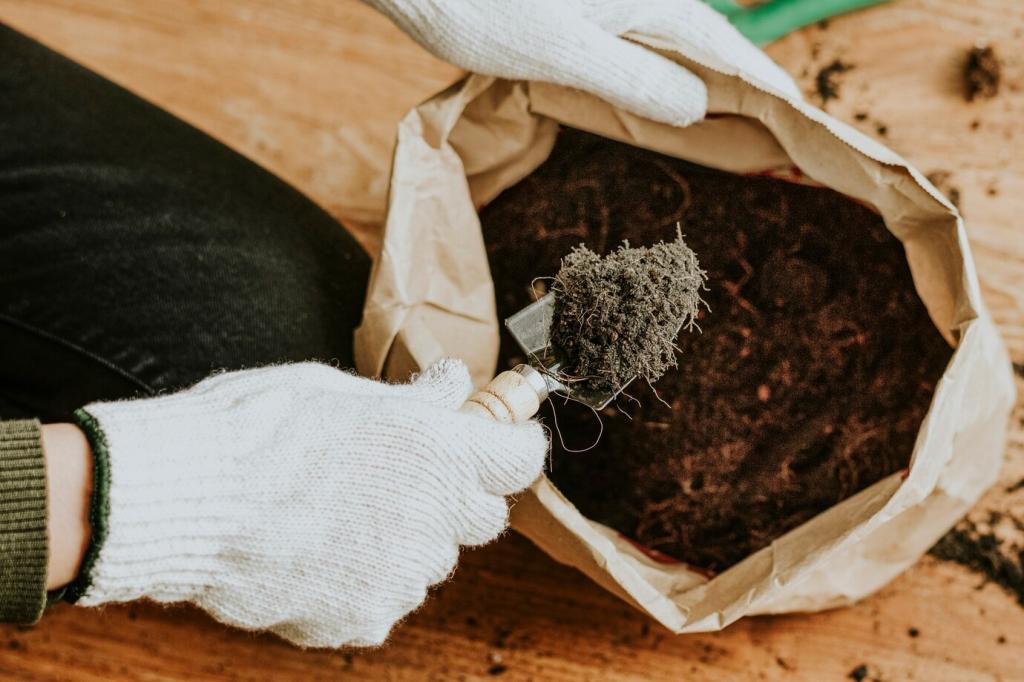
If using plastic or solid boards, drill evenly spaced holes around the lower perimeter and across the base, about every few inches. My first bin had too few holes and turned sour—your nose knows. Add air, banish stink.
Elevate for Drainage and Leachate Control
Set the bin on bricks, runners, or a slatted pallet to let excess moisture escape. Good drainage deters rot and mosquitoes. In tight spaces, add a catch tray. Curious about apartments? Ask, and we’ll brainstorm compact options.
Pest-Resistant Foundation Choices
Line the bottom with hardware cloth, securing edges under the frame to stop rats and raccoons from tunneling. It keeps critters out while letting microbes in. Tell us which wildlife you’re up against, and we’ll tailor defenses.
Fit and Fasten the Walls
Clamp boards, check diagonals for equal measurements, and use corner braces or stakes to keep everything plumb. My neighbor beamed when his second bin didn’t wobble—small adjustments mattered. Celebrate your sturdy corners in the comments.
Use a slatted wood top, perforated plastic with an overhang, or corrugated roofing on hinges. Keep rain out but let oxygen in. After a storm, my lidded bin hummed along while a neighbor’s turned soggy—design matters.
Pick a Shady, Accessible Spot
Dappled shade limits drying; nearby water access simplifies moisture checks. Leave space to wield a pitchfork and wheelbarrow. Avoid placing tight against wooden fences. Where will yours live? Comment with your chosen corner and constraints.
Insulate for Winter, Vent for Summer
In cold climates, stack straw bales or cardboard around the bin; in heat waves, open vents and add shade. Myths aside, balance is key. Subscribe for seasonal checklists and share your region for tailored advice.
Monitor, Turn, and Troubleshoot
Hot piles hit 130–160°F with regular turning; finished compost can appear in 4–12 weeks. Cold composting is slower but hands-off. Log temperatures weekly, and share your graph—patterns reveal when to turn or feed.
Monitor, Turn, and Troubleshoot
Ammonia scent? Add browns. Rotten smell? Add air. Fruit flies? Bury scraps and secure the lid. Rodents? Tighten gaps and reinforce with wire. Drop stubborn cases in the comments, and we’ll troubleshoot together.